
Your Guide to Object Source Lighting
What Is Object Source Lighting?
Object source lighting, or OSL, refers to a light source on your miniature that may exist on the model, the base, or elsewhere to create a really dramatic lighting effect. The source may be an actual piece of your miniature like a torch, glowing plasma coils, or even a powerful magic sword!
Object source lighting can come in virtually any colour depending on your setting.
Object Source Lighting – It’s All About the Light

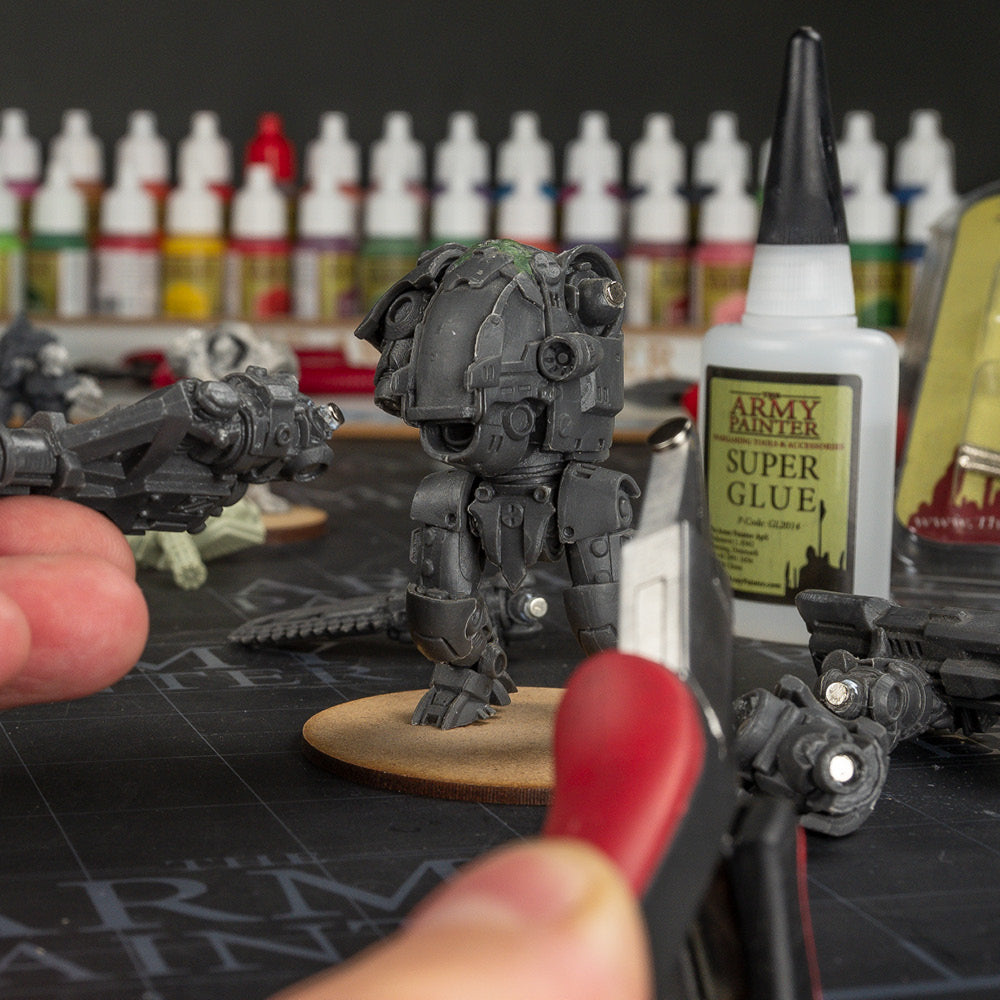
Most miniature painting relies on a light source directly above the subject like we show you in our highlighting tutorials.
But with OSL, the primary light source is changed, or another is added to fall in another angle. The source could come from an object like a torch, and hit the miniature from the side.

It could also come from the glow of molten lava, or toxic sludge on the base. This reverses the placement of highlights and shadows on the miniature to the underside. Notice the light edges facing the ground – by using the tips from the Edge Highlighting article you can easily place these highlights.
Using a flashlight is a good way to try out different light angles before priming.
Warpaints Air Fluo Colours Are Great For Making OSL Effects On Your Miniatures

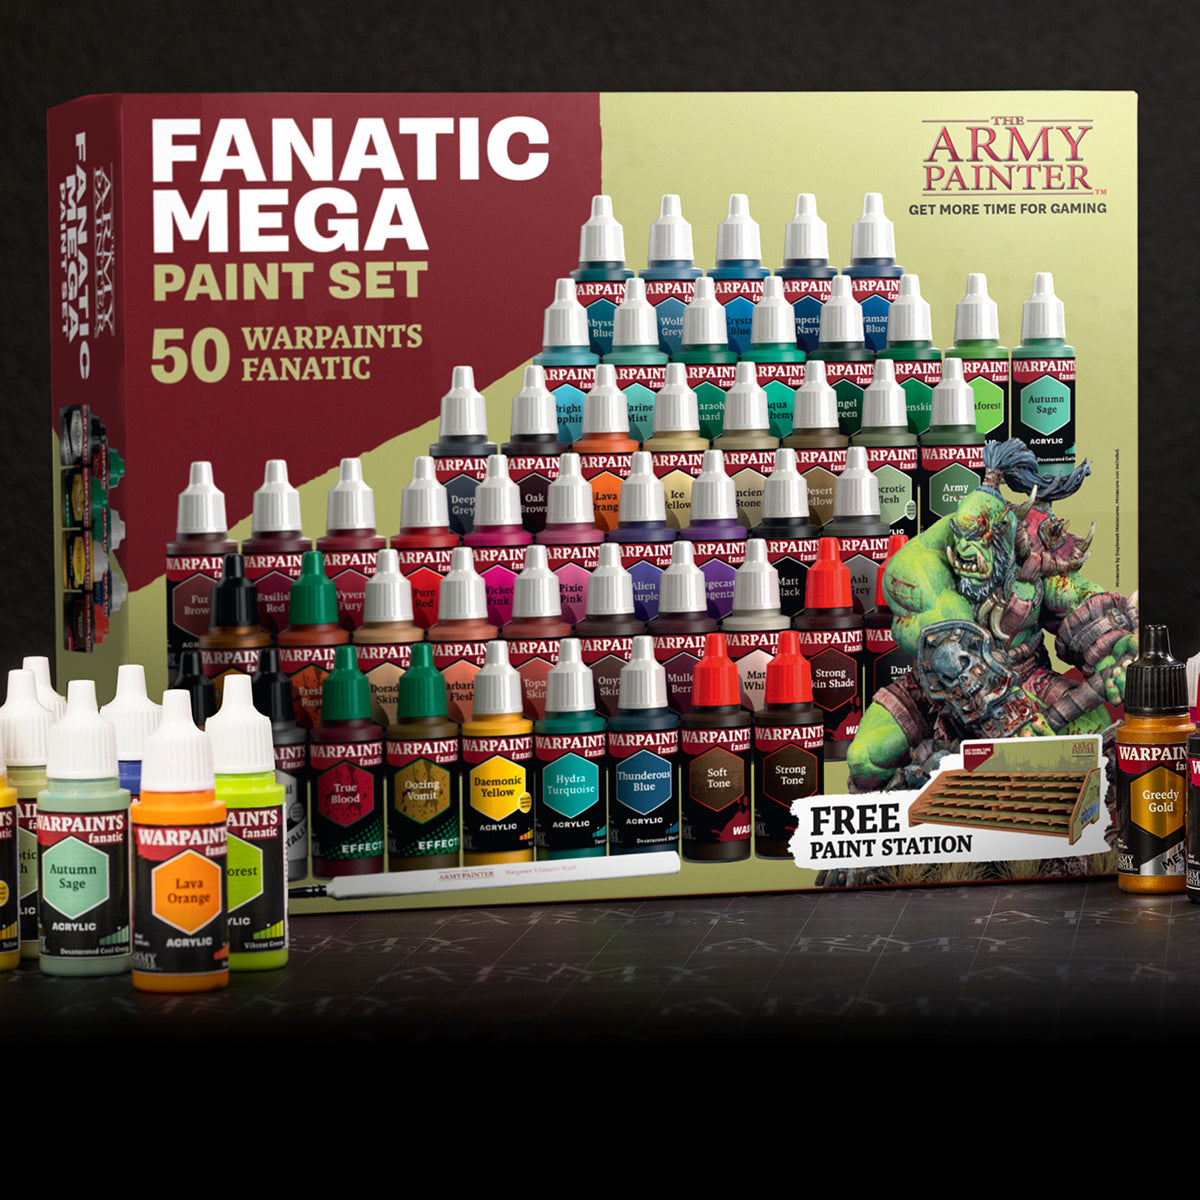
Our Warpaints Air range contains 6 ultra-vibrant fluorescent colours, and these are perfect for applying OSL effects with your airbrush, thanks to their unreal vibrancy.
You can use many tools to achieve this effect like our Masterclass Drybrush, our Warpaints Air range, or even our Speedpaints.
We recommend Warpaints Air Fluo for that most vibrant and striking effect.
Let’s learn how!
How To Create an OSL Effect

Object Source Lighting is best applied as an effect when you are almost done with your miniature.

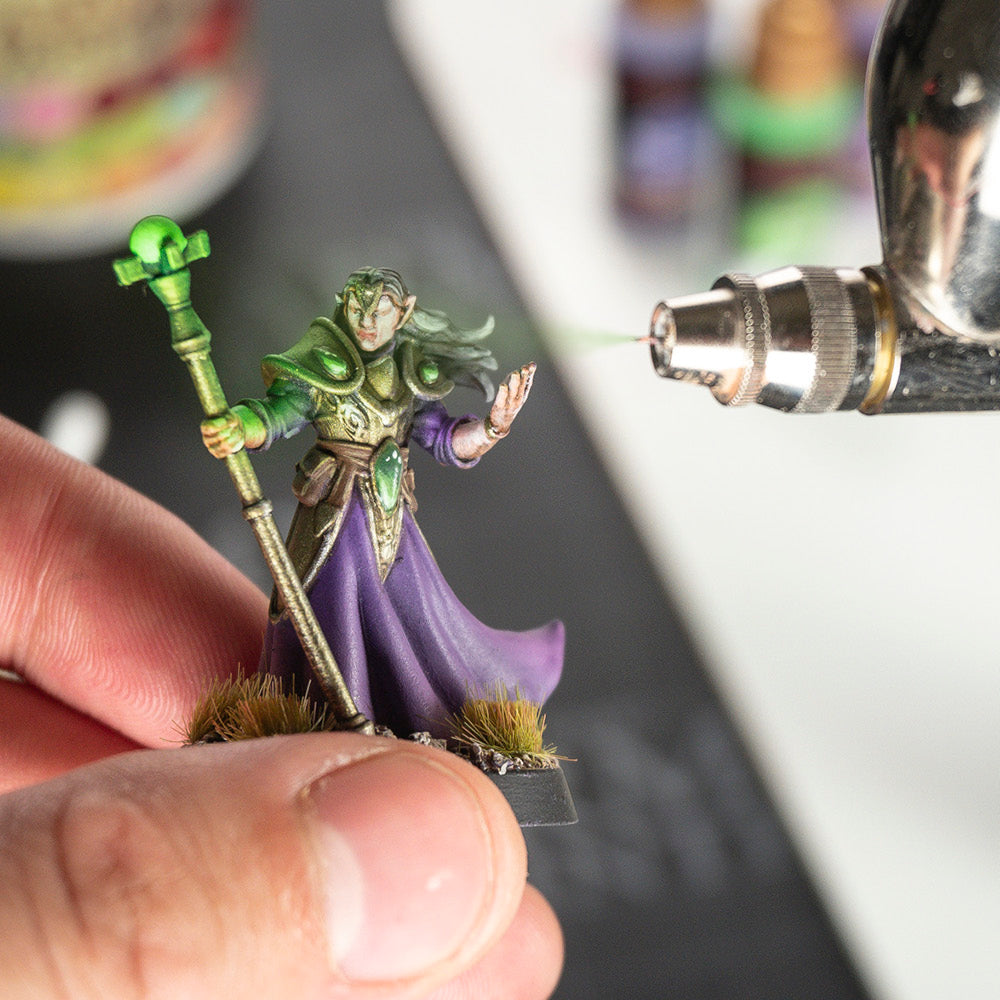
Start by airbrushing a Matt White undercoat on the intended light source and the area around to help enforce the glowing effect.

Next, airbrush your Fluorescent colour of choice over the white.
Here, we chose Blue Flux which is a flourescent Warpaints Air colour.

Now, apply a subtle edge highlight to the coils and the hard edges where the OSL effect has been made. Because of the intense light from this weapon, we chose Matt White.
The Underlying Colour Matters

While white is often used to get the most bright colours to pop on your miniature, don’t forget that the underlying basecoat shifts the colour you apply, and that blending is very essential.
Here, darkest areas of the OSL effect is just Lava Orange blended with an airbrush over the dark greens of the orcs skin.
Then the brightest orange highlight has been made using the technique shown above. Matt White and then Safety Orange Fluorescent Warpaint.
