
Welcome to our first in-depth look at how we tackle certain models within The Army Painter studio. We hope to bring you even more of these in the future, including guides with step-by-step photos, to accompany the amazing work our video team is doing over on Youtube.
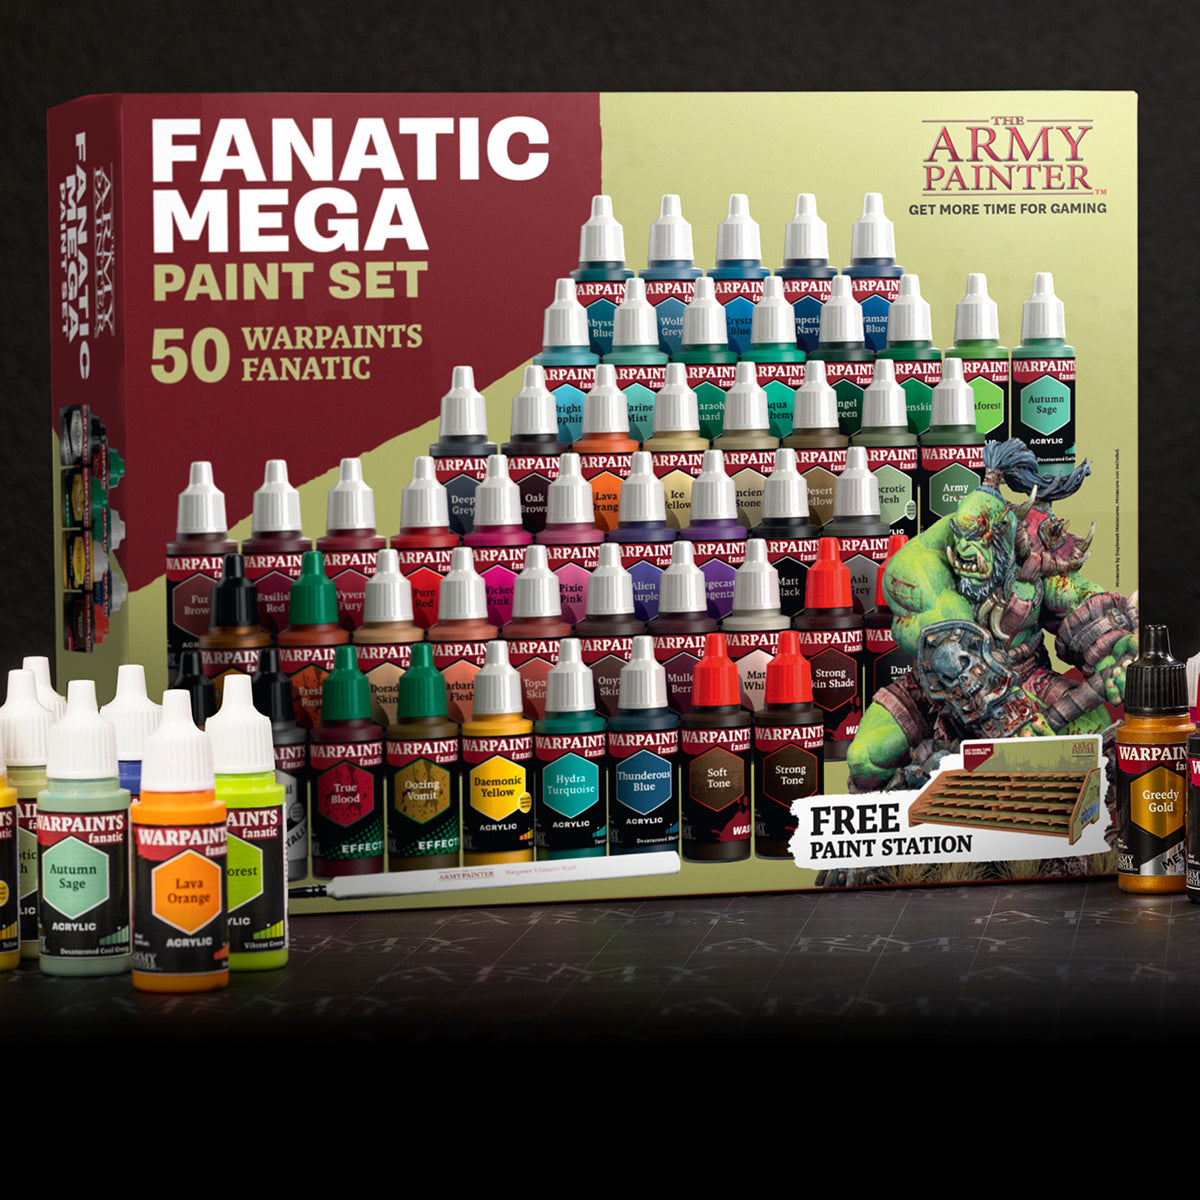
To kick things off we have the one and only Thomas Coltau, Lead Studio Painter and Product Developer here at The Army Painter, giving us a detailed breakdown of how he painted this stunning Screamer-Killer from Games Workshop using our new Warpaints Fanatic range.

Thomas: For this Screamer-Killer I aimed for a classic scheme, with a twist using our new Blood Effects.
I started with a Matt Black primer and a Matt White zenithal primer spray overtop. I like to use our sprays, especially for gaming miniatures as they provide a solid foundation for the following acrylic paints.

Over the white zenithal, I painted all the 'non-carapace' bits with Barbarian Flesh. I find Barbarian Flesh to be a very good midtone for pale flesh tones, or in this case, Alien Skin - It leaves a lot of room to use our new washes, and at the same time create a lot of contrast when highlighting the skin.

After a coat of Barbarian Flesh, I used thinned Dark Skin Shade to coat all of the skin on the model. I then gave it an undiluted layer of Dark Skin Shade on all the joints to make those stand out a bit more, and create a higher contrast between the pale skin tone and the dark joints.

I tidied up the wash step with Barbarian Flesh, to prepare for the highlight steps. I tried to be as neat as possible on this step, as it would define how crisp the rest of the miniature would look.

I then began mixing Barbarian Flesh with Opal Skin and layered the skin over 2-3 layers, and finally finishing off with pure Opal Skin as highlight. In general, I try to avoid using pure white as a highlight, as it can be very overpowering. I also try to concentrate the highlights towards the more visually interesting parts of the miniature.

For the final touch on the skin, I glazed Magenta Tone on the skin towards the joints over 2-3 layers to create a gradient towards the darker joints. The new Magenta Tone is great for glazing over pale skin, to give it a more natural look. It can make pale skin look even paler if you use it carefully, as it can emphasize the contrast between the cold (pale) skin, and the warmer Magenta hue.

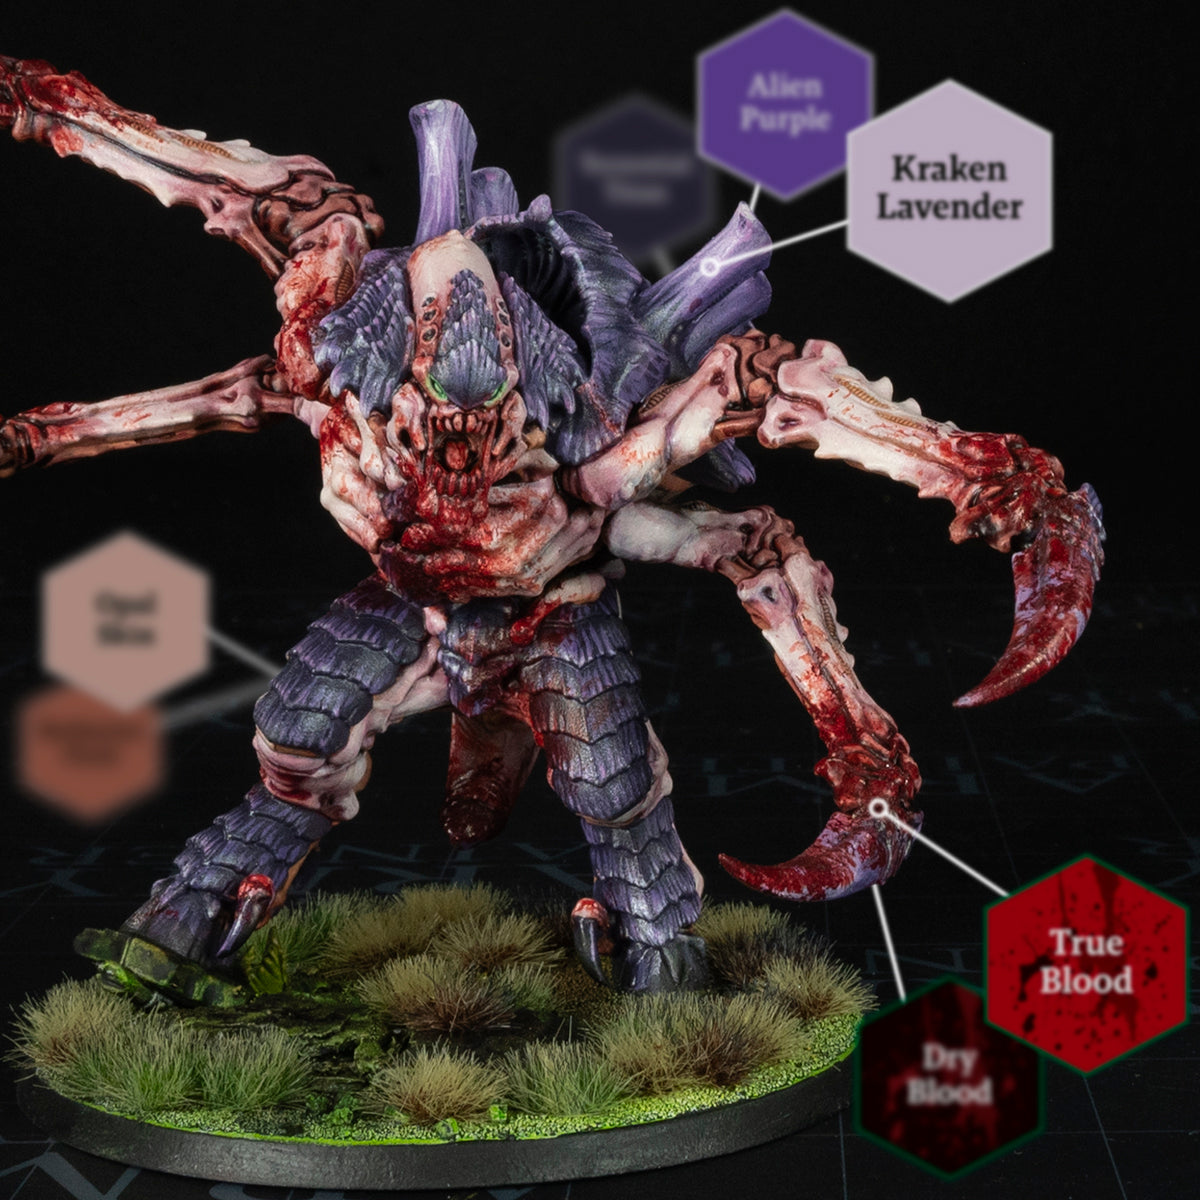
For the carapace, I started with a layer of Terrestrial Titan. It's very dark, and when I want to start dark, a colour like Terrestrial Titan is certain to leave plenty of room for contrast, working your way up through the highlights.

Next, I used Alien Purple for the first highlights. I used two coats, the first very diluted, and the second less so, and painted them on the carapace in growth lines, reinforcing the feel of heavy tank-like protection. I made sure to paint each highlight sharper and thinner than the previous step to ensure a smoother transition between the highlights.
I finished the carapace with a highlight of Kraken Lavender. As with the previous step, I made sure to make these highlights sharper and thinner to emphasize the boney armour feel.
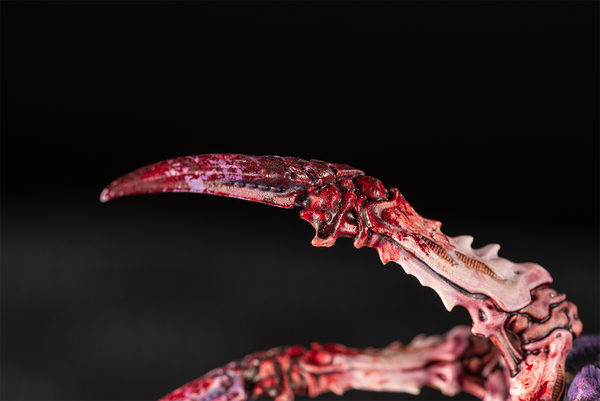
The finishing detail was adding the Effect Paints. Dry Blood is an excellent blood effect to start with. This will give you a very dark layer to start with, even for fresh gore. Because Dry Blood has a bit of texture and a crackle effect, it will dry as a scab like effect that is perfect as an old wound, an old dead body, or as the first step to a fresh blood effect.
I then finished the blood with our new True Blood. I always use an old brush that I have snipped some bristles off to be able to create as random a pattern as possible. I then dab it on quite generously on top of the Dry Blood, and then a bit more on the clean parts, to have some contrast in the effect.

The last part on the mini was a dot of Matt White on the eyes, and then a layer of Data System Glow.

This was a fun model to paint, and I'm happy with the result. Because of the Flexible Triad system, it's quite easy to switch out the colours I used, for others to create a darker or lighter scheme, or perhaps an entirely different tone.
Thank you once again to Thomas for showing us how he conquered such a mighty beast on his painting desk! Be sure to subscribe to our Youtube Channel to see more of his painting guides, as well as follow us on Facebook, Twitter, and Instagram for our bite-sized Tips from the Painting Desk guides, which this very Screamer-Killer stars in today. And of course, be sure to check back here in the future for even more written guides.